android 手势编程
# 一、首先制作gesture文件
# 1,Gesture Builder APK 下载
https://apkpure.com/gesture-builder/pack.GestureApp/download#google_vignette (opens new window)
# 2,安装到android studio的虚拟机
将上面的apk拷贝到下面这个目录下面。 C:\AndroidTool\AndroidSDK\platform-tools

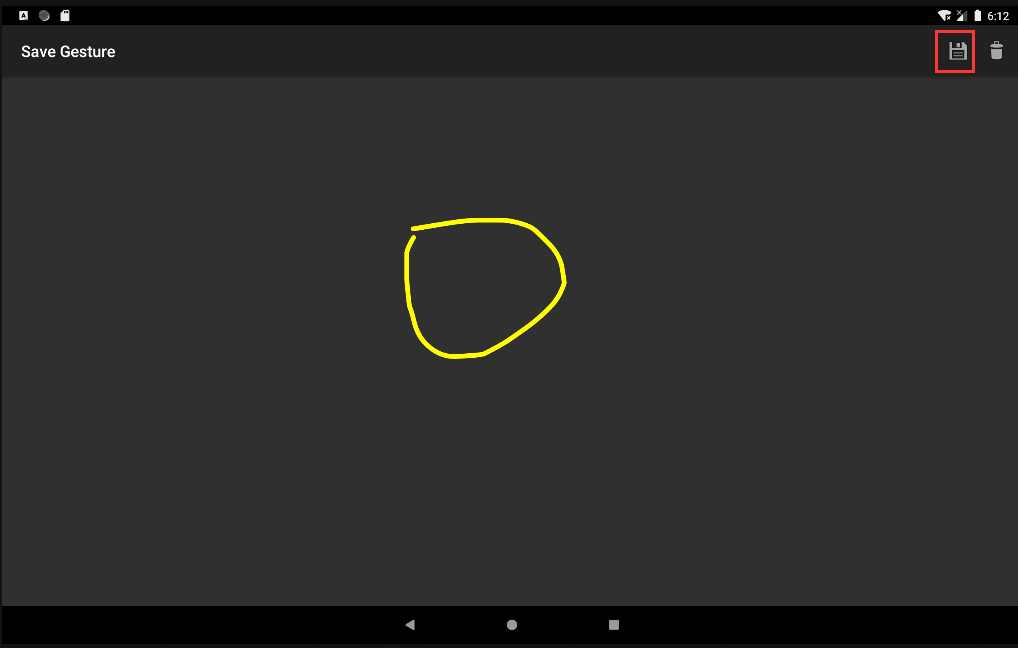
# 3,在虚拟机上启动Gesture Builder
输入手势。

# 4,将/storage/emulated/0/Android/data/pack.GestureApp/files/gesture.txt
拷贝出来。

# 二,android 端代码编写
# 1,layout文件
加入 android.gesture.GestureOverlayView。 注意:webview 一定要放在GestureOverlayView的里面,否者webview里的控件不可点击。
<?xml version="1.0" encoding="utf-8"?>
<androidx.constraintlayout.widget.ConstraintLayout xmlns:android="http://schemas.android.com/apk/res/android"
    xmlns:app="http://schemas.android.com/apk/res-auto"
    xmlns:tools="http://schemas.android.com/tools"
    android:layout_width="match_parent"
    android:layout_height="match_parent"
    tools:context=".MainActivity"
    android:id="@+id/main_div"
    >


    <Button
        android:id="@+id/btnClose"
        android:layout_width="100dp"
        android:layout_height="100dp"
        android:layout_marginTop="150dp"
        android:text="Close App"
        app:layout_constraintStart_toStartOf="parent"
        app:layout_constraintTop_toTopOf="parent"></Button>


<android.gesture.GestureOverlayView
    android:id="@+id/gestures1"
    android:layout_width="match_parent"
    android:layout_height="match_parent"
    android:gestureStrokeType="single"
    android:gestureColor="#FF0000"
    android:fadeOffset="5000"
    android:eventsInterceptionEnabled="false"
    android:gestureStrokeWidth="10"
    android:gestureStrokeLengthThreshold="0.1"
    android:gestureStrokeSquarenessThreshold="0.1"
    android:orientation="vertical"
    android:clickable="false"
    android:focusable="false" >
    <WebView
        android:id="@+id/wv_main"
        android:layout_width="match_parent"
        android:layout_height="match_parent"/>

</android.gesture.GestureOverlayView>

    </android.gesture.GestureOverlayView>

</androidx.constraintlayout.widget.ConstraintLayout>
2
3
4
5
6
7
8
9
10
11
12
13
14
15
16
17
18
19
20
21
22
23
24
25
26
27
28
29
30
31
32
33
34
35
36
37
38
39
40
41
42
43
44
45
46
47
48
对于GestureOverlayView的一些属性,说明如下: 1)gestureStrokeType:设置画笔(Stroke)的类型。大多数情况下,gestures都是通过一笔完成。然而有一些特别的需求就需要通过多个笔画来实现,例如通过“+”来实现“添加”的行为,则可以将其值设置成“multiple”,如果是单一笔画,则可以将其值设置成“single”。
2)eventsInterceptionEnabled: 可以简单理解为当前应用程序在Gesture overlay模式下屏蔽其它Views Events的开关。当它设置为true时,所有基于当前应用程序屏幕的操作都被视作为绘制gestures的行为,从而避免用户与应用程序界面的交互造成混乱。
3)orientation:这个属性作为当前Gesture recognizing的参考标准(相当于filter的作用),例如:在这个例子中的Items垂直排列,所有基于Overlay的垂直 (vertical) gesture,都无法被识别为有效的gesture,其与当前的垂直滚动条操作造成混淆。对于水平 (horizontal) gesture可以立即识别为有效的gesture,或者任何以垂直为起始的操作需要至少包含一段水平的绘制轨迹才可以被正常识别。
4)gestureColor:画笔的颜色,可以设置成“#rgb”、“#rrggbb”、“#argb”或者“#aarrggbb”各种格式中的一种。
# 2,android 后台代码
1)将刚才的gesture.txt拷贝到/res/raw目录下。没有raw就建立一个。
2)写监听事件
@Override
    protected void onCreate(Bundle savedInstanceState) {
        super.onCreate(savedInstanceState);
        setContentView(R.layout.activity_main);
        initAndroidGesture();
    }

private void initAndroidGesture(){
    GestureLibrary gesLib         = GestureLibraries.fromRawResource(this, R.raw.gesture);
    gesLib.load();
    GestureOverlayView gesturesDiv = findViewById(R.id.gestures1);
    gesturesDiv.setGestureVisible(false);// 隐藏画笔 (黄色的起始画笔)
    // 下面2句也可以隐藏画笔
    //gesturesDiv.setGestureColor(Color.TRANSPARENT);
    //gesturesDiv.setUncertainGestureColor(Color.TRANSPARENT);
    gesturesDiv.addOnGesturePerformedListener(new GestureOverlayView.OnGesturePerformedListener() {
        @Override
        public void onGesturePerformed(GestureOverlayView gestureOverlayView, Gesture gesture) {
            Log.d("gusturelib", "onGesturePerformed");
           ArrayList<Prediction> predictions = gesLib.recognize(gesture);
           if(predictions.size() > 0){
               Prediction prediction = predictions.get(0);
               // 是定义的手势名称,且相似度达到多少
               if(prediction.name.equals("zcircle") && prediction.score > 3){
                   // Do something
               }
           }
        }
    });
}
2
3
4
5
6
7
8
9
10
11
12
13
14
15
16
17
18
19
20
21
22
23
24
25
26
27
28
29
30
31